← Back to Smile Gallery

Dental Implants

Tooth #5 Implant & Tooth #11 Cantilever

Tooth #5 Implant & Tooth #11 Cantilever

Before Before Tooth #5 Implant & Tooth #11 Cantilever
After After Tooth #5 Implant & Tooth #11 Cantilever

More of This Transformation

  • After detail, Tooth #5 Implant & Tooth #11 Cantilever
  • Before detail, Tooth #5 Implant & Tooth #11 Cantilever
  • Appliance diagram, Tooth #5 Implant & Tooth #11 Cantilever

The Patient

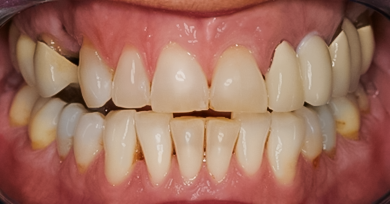
This patient needed a thoughtful replacement plan for missing teeth in more than one area. The goal was a stable result that restored function while keeping the visible smile natural.
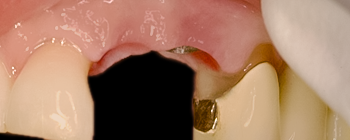
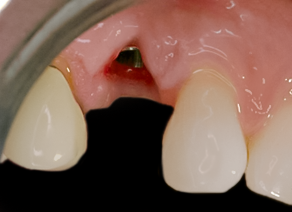
The Plan

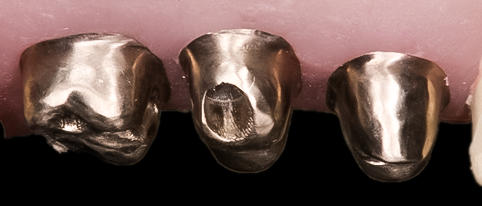
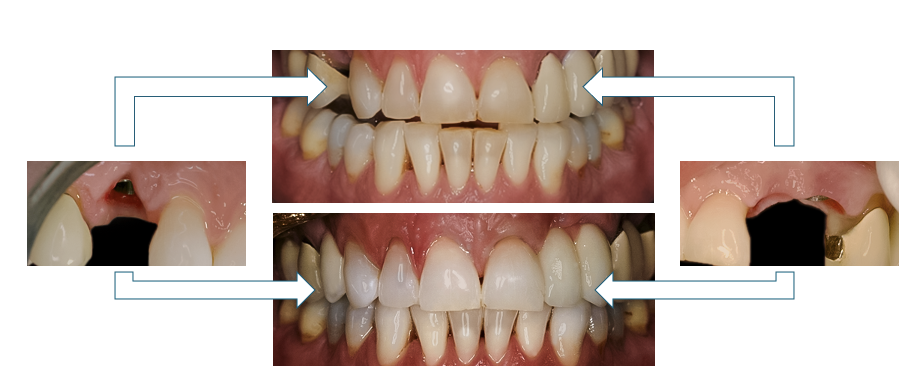
Dr. Patel planned a tooth #5 implant and a tooth #11 cantilever restoration, using different techniques where each one made the most sense for the patient’s bite, spacing, and long-term stability.
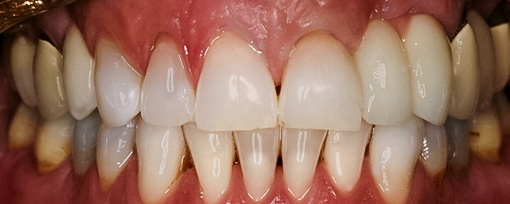
The Result

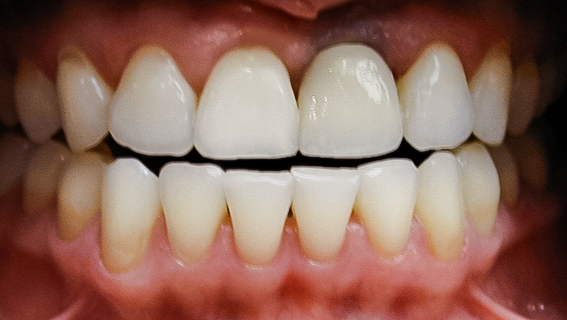
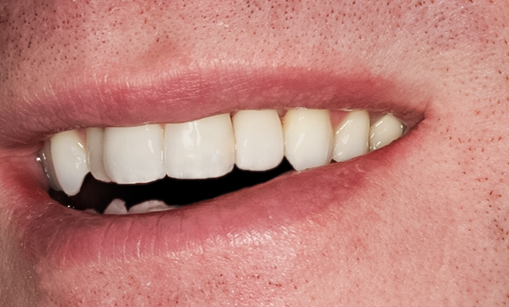
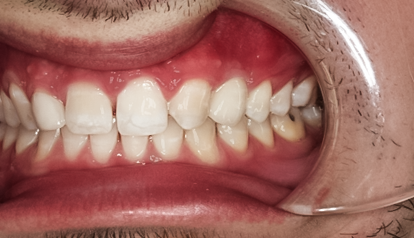
The finished restorations made the smile feel more complete and dependable, with a result designed to blend into the patient’s natural smile.

Issues addressed

  • missing teeth

Smile by

Handcrafted by the dentists at Dentistry at East Piedmont.

Wondering what's possible for your smile?

Every transformation in our gallery started with a free consultation. Tell us what you'd change and we'll tell you honestly what would get you there.

Book an Appointment
Call Book Drive
Book an Appointment